Electric Bike Repair:
A customer brought in his Kalkhoff Sahel Compact for an electric bike repair. He said ‘the chain was slipping’. We quickly ascertained that this was not the case, and it was in fact something not connecting in the drive mechanism.
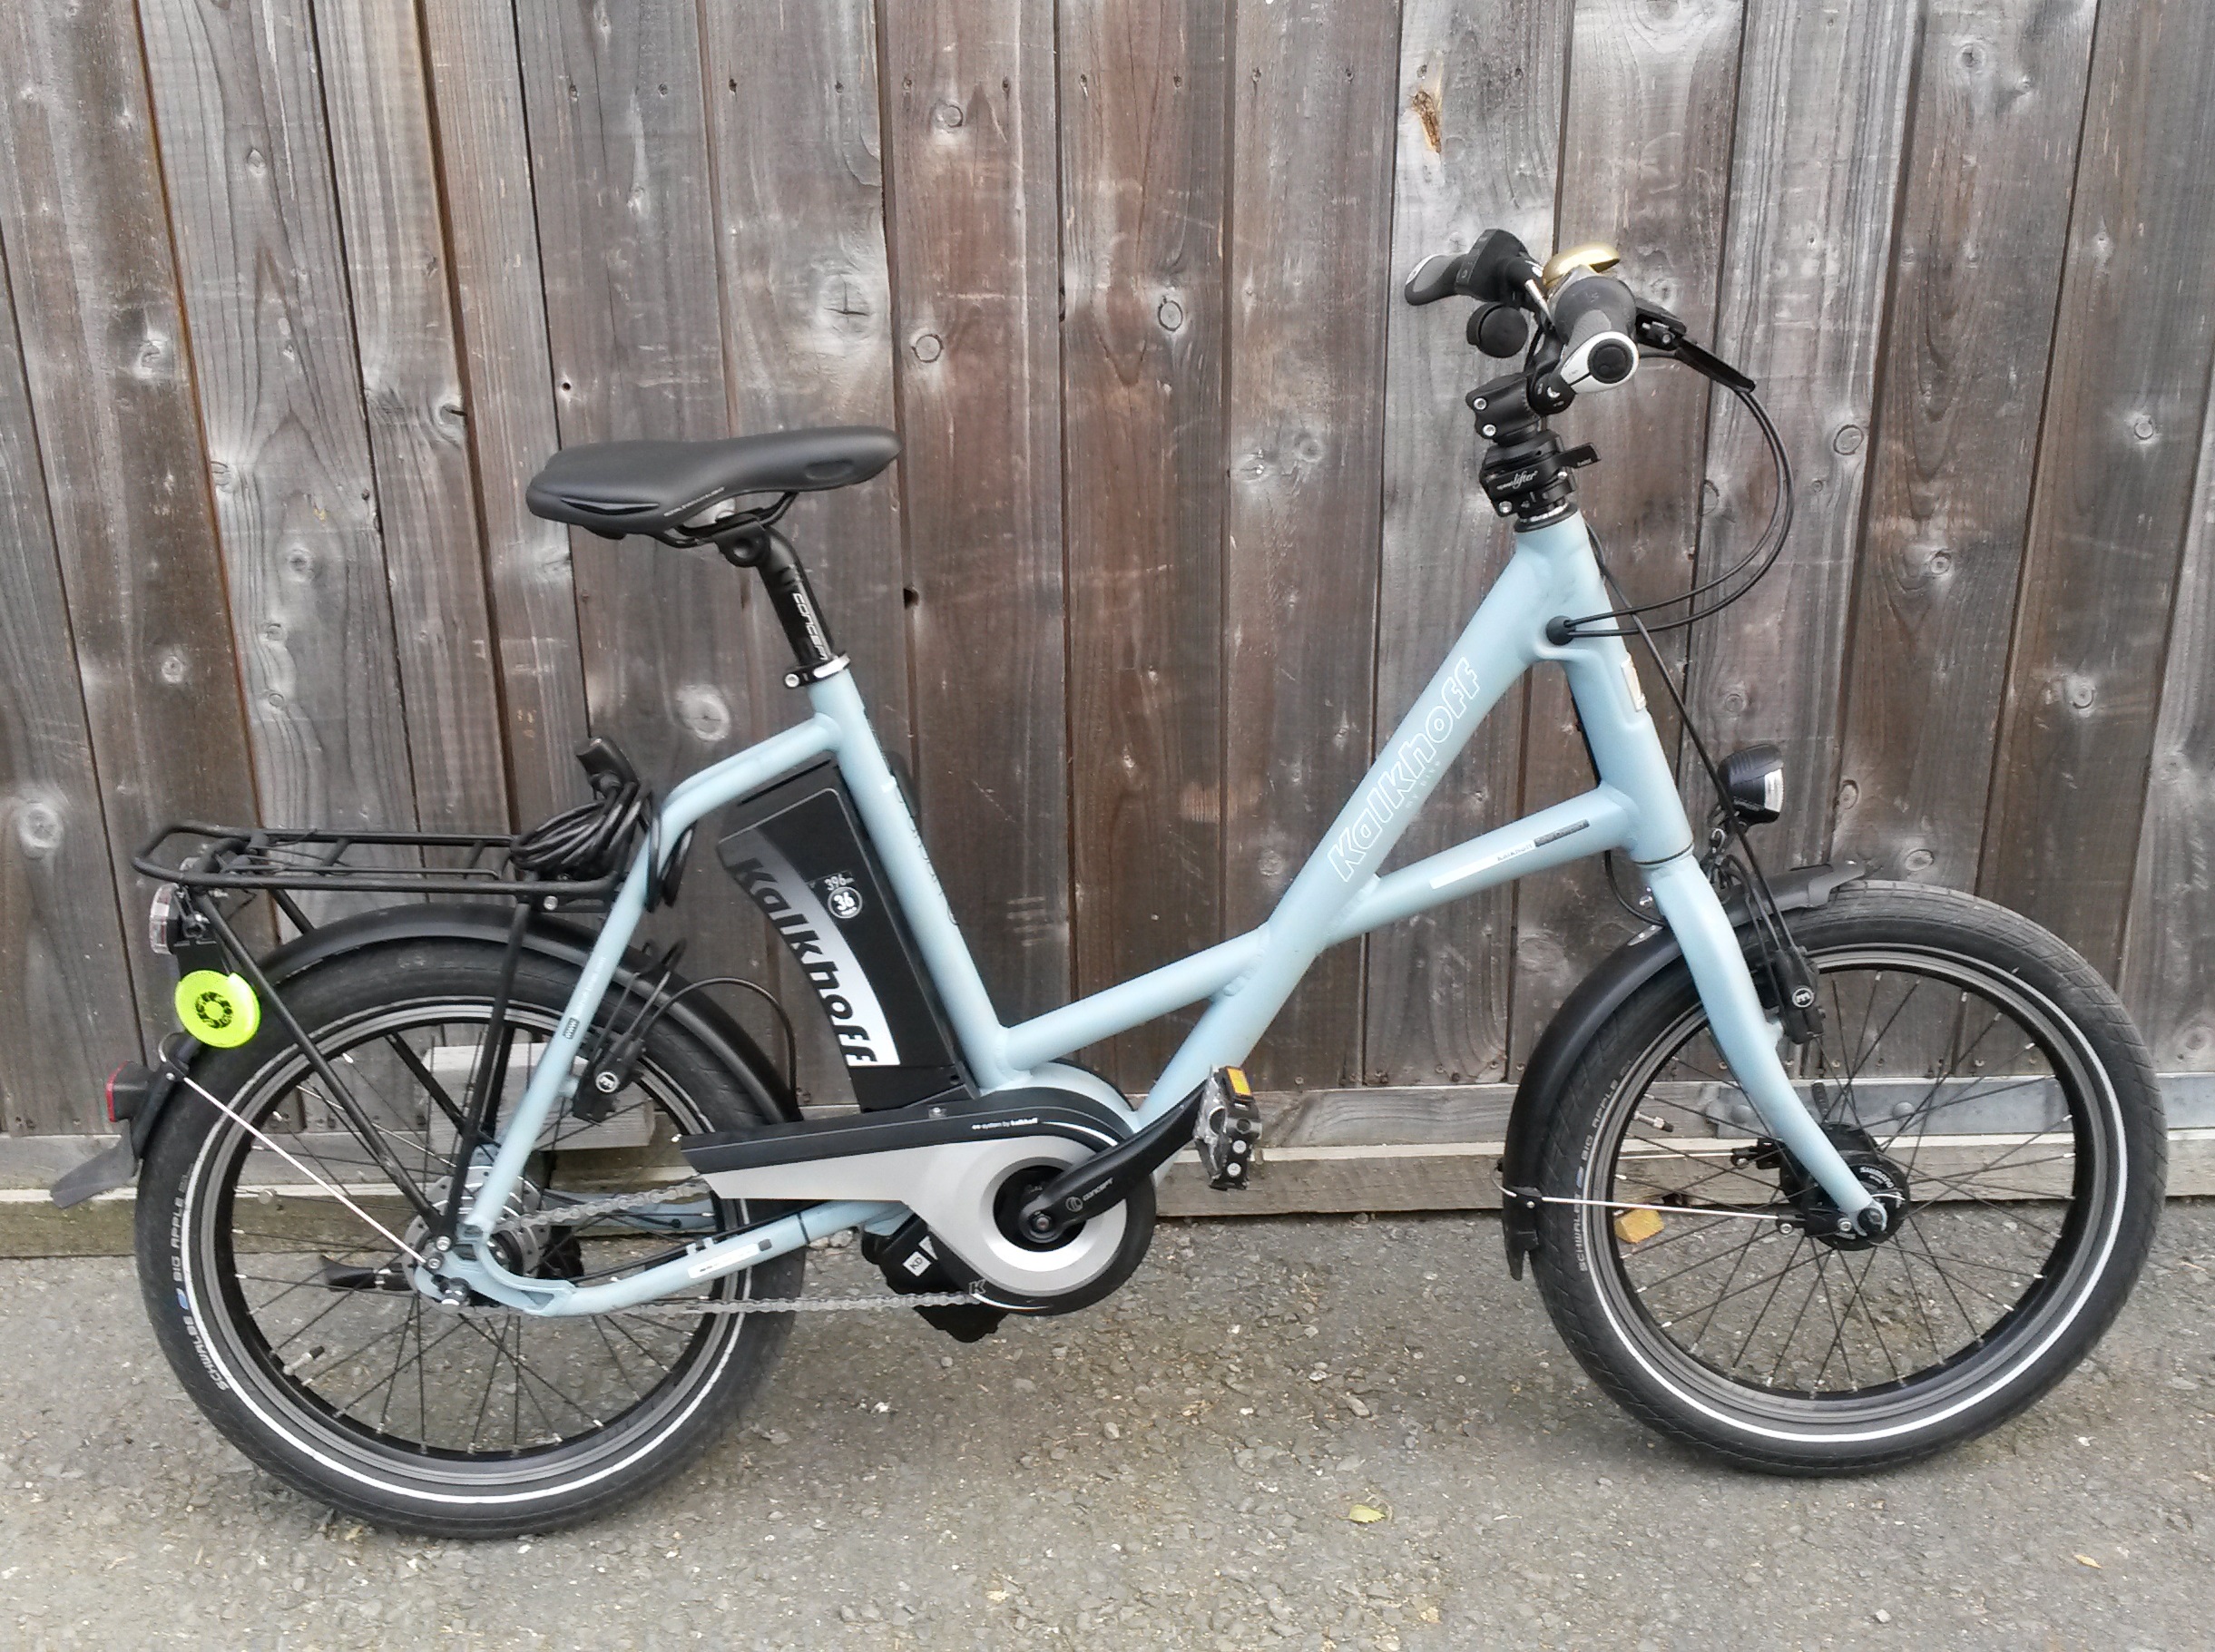
This bike is a pedal assist type, so the motor will only cut in to boost your pedal power. With an impressive battery this gives the bike a very respectable range – up to 100 miles or so on a good day. Although this obviously depends how much power assistance you select.
He had been quoted £600 for his electric bike repair. To replace the drive assembly (yes, you have to buy the whole thing and presumably pay a fitting fee too!). As the bike was out of warranty, we had nothing to lose by removing it from the bike and opening it up (after consulting Joe, the very helpful service manager at 50 Cycles, the importers over in Leicestershire).
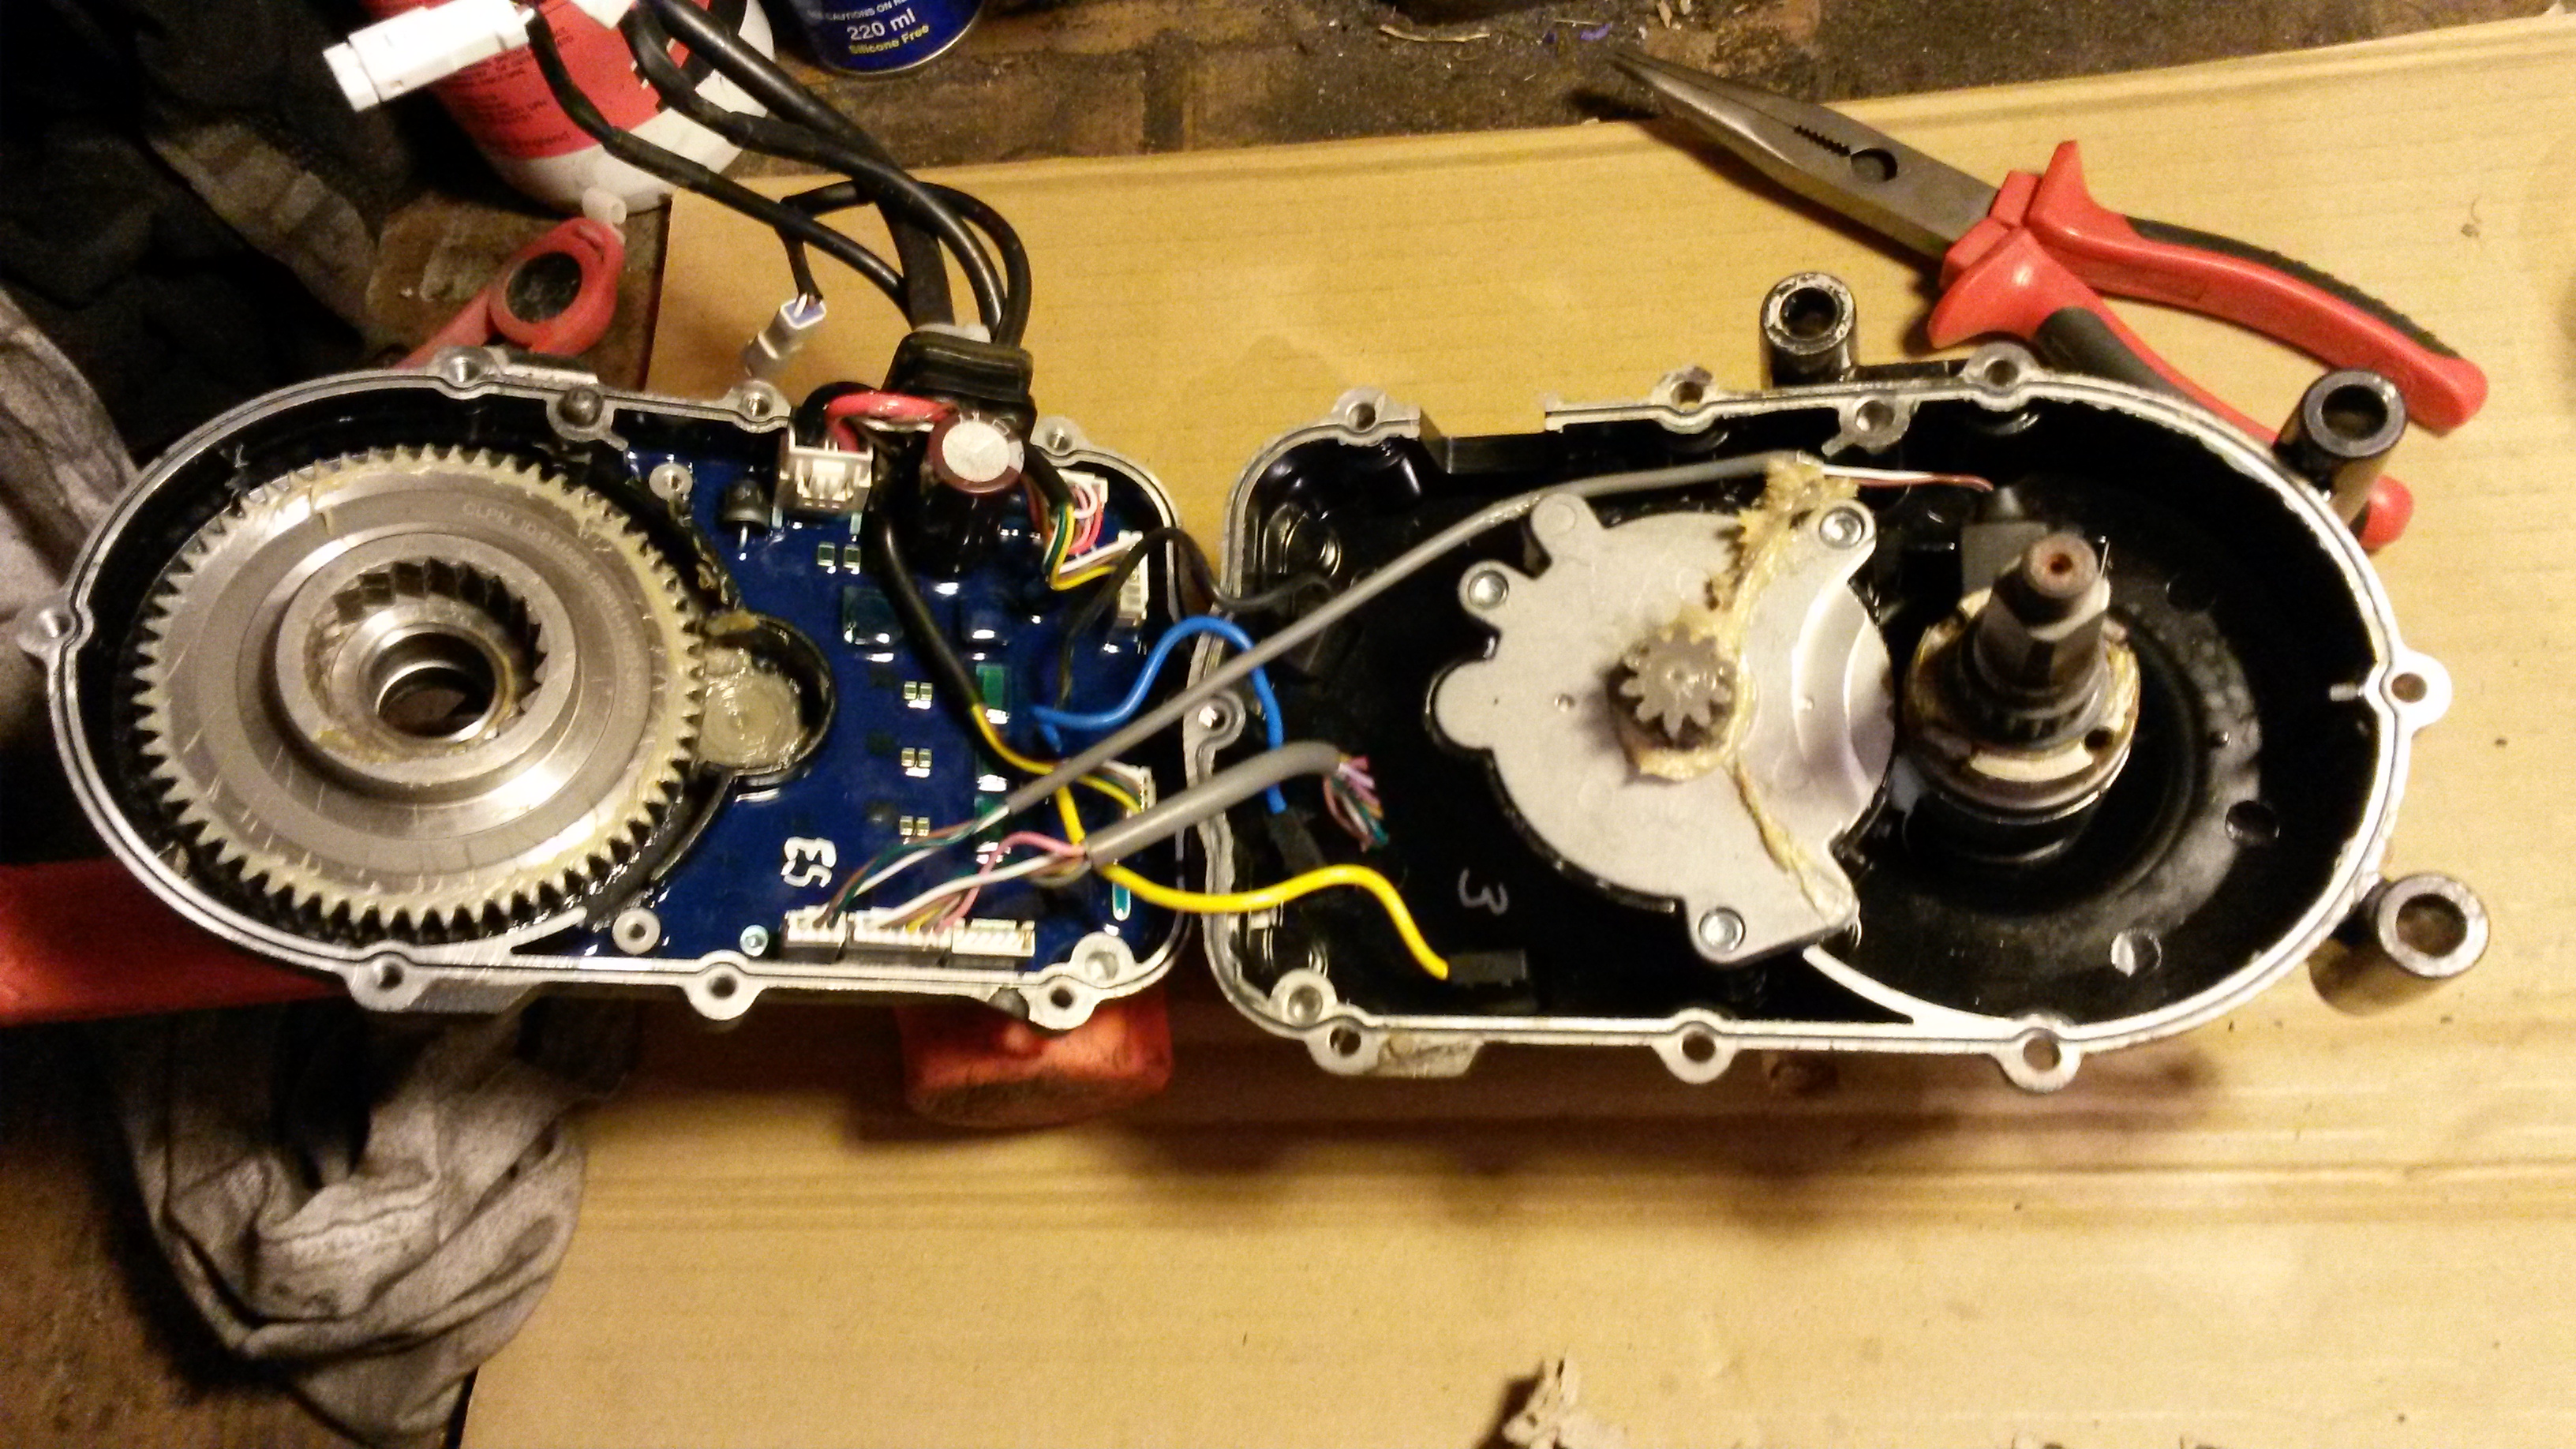
Dismantling was fairly straightforward but time consuming. We took photos at every step to show the position of everything, including the electrical connections. We can’t be too careful when working on an electric bike repair for the first time! Once the drive unit was removed and on the bench, it was a simple matter of removing 8 bolts around the casing edge and separating the two halves (as shown in photo). My assumption before opening the casing was that there was a freewheel mechanism of some kind inside that engaged when you pedalled, but freewheeled when you stopped (this would normally be on the back wheel on a standard bicycle).
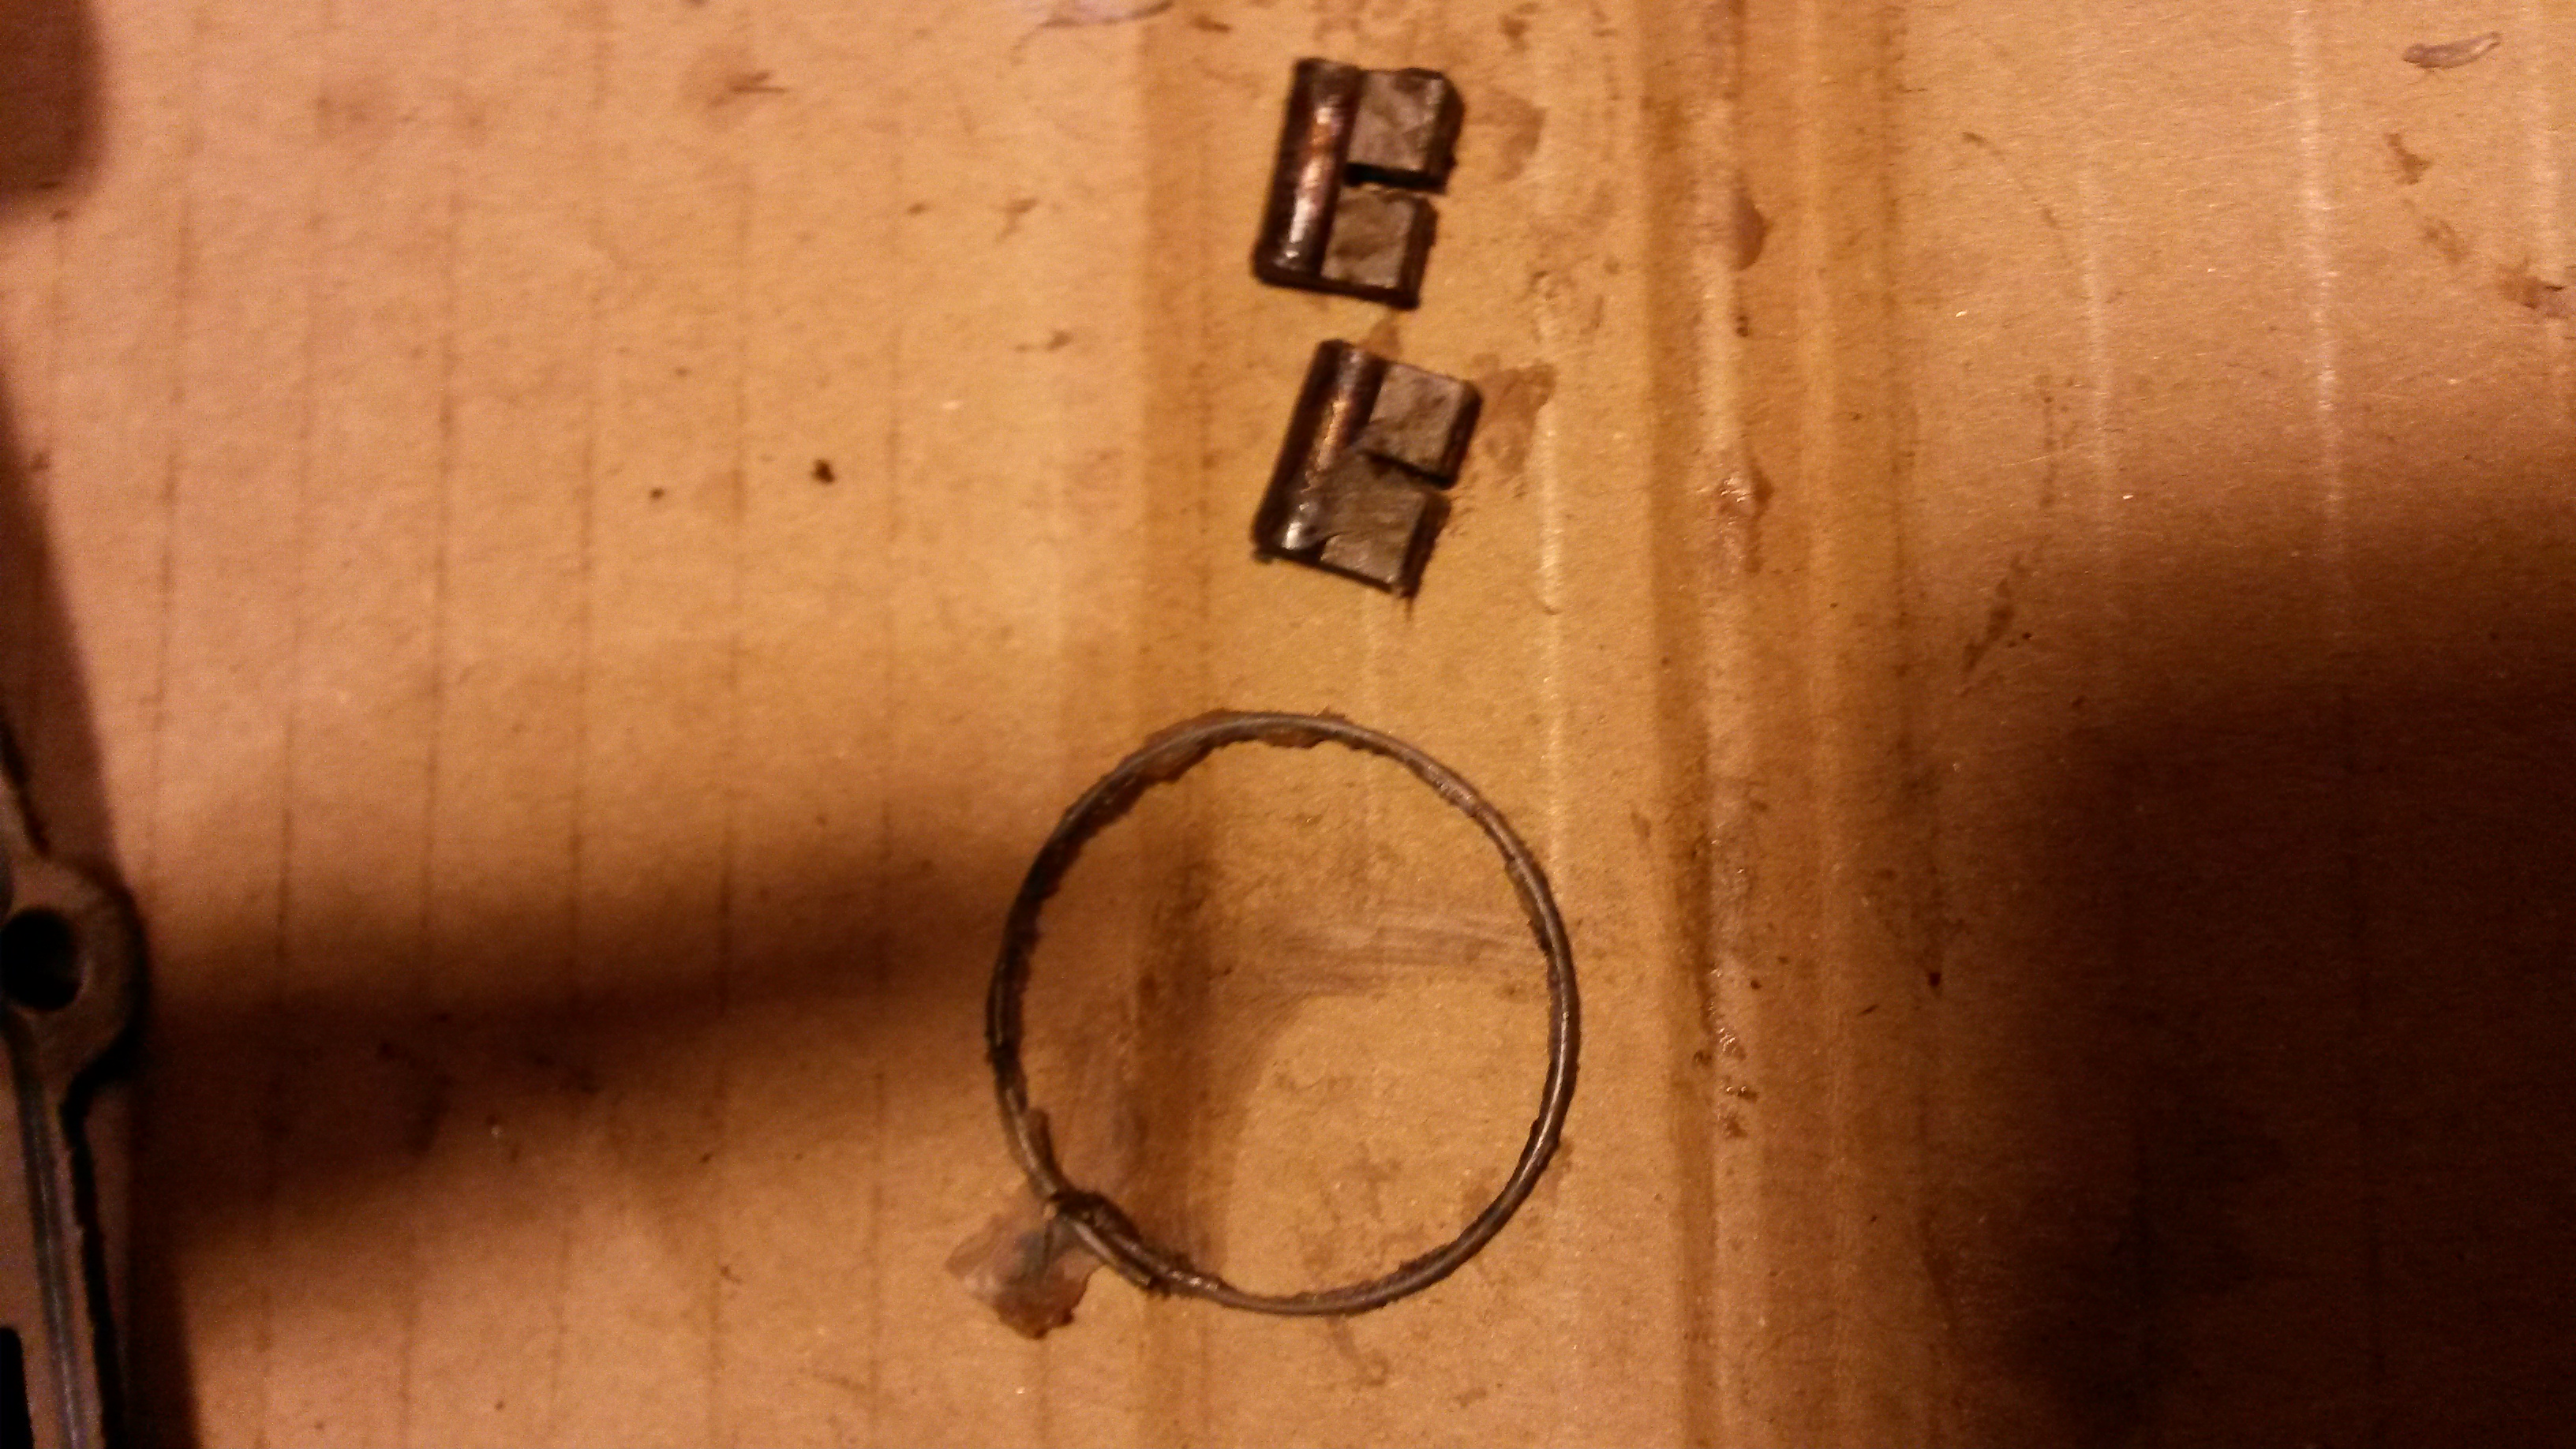
My assumption proved to be correct. I could see as soon as I opened the casing that there were two pawls on the pedal spindle. These were supposed to flick out with spring assistance and engage the drive when you pedalled. These two pawls (see photo) were gummed up with old dry grease and were not moving, so the pedals were spinning free and you were going nowhere.

After carefully removing the two pawls and the wire spring (see photo), they were thoroughly cleaned in solvent and reassemble on the shaft with fresh oil, then re-assembled. The casing does have a rubber gasket between the two halves but I also put a thin smear of silicone gasket around it to make sure it sealed. You don’t want water and road gunk getting inside there!
After that it was a simple matter of putting it all back on the bike. The drive unit is a very snug fit in the frame and required some leverage to get it in place and connecting everything up. A quick test drive confirmed that everything was in working order. The customer was relieved to have a bill that was a small percentage of what it could have been. I reckon I spent the best part of 5 hours on the bike, but gave it all a check over while it was in the workshop. I advised him to replace the front tyre in the near future as it was starting to show small cracks, but apart from that it was good to go. NEXT!
Leave a Reply
You must be logged in to post a comment.